Do you garden? Do you wish you could but don’t have the space? Well, my DIY hanging herb garden will be the perfect DIY project so that you can start gardening and using fresh herbs in your favorite dishes! Herbs are a great option for small spaces where there is no room for a large garden. All they need is sunlight and water. Even if you don’t have a green thumb, these little plants will take little to maintain.
Here we go with the tutorial!
Materials:
(Affiliate links are provided below for products with asterisk. For more information, see my full disclosure here.)
- Metal pails. These were purchased in the Dollar Spot at Target. Two pails for $3. These metal pails* are very similar.
- Herbs. I chose dill, lemon thyme, and rosemary
- Old board. My board came from a recycled piece of furniture, but you could use a piece of 2×4 or any other wood you have lying around.
- Polka Dot tissue paper*. The tissue paper I used was from Hazel & Ruby. I love the modern gray with white polka dots.
- Alphabet letters*. I had these lying around in my craft room from a previous project.
- Floral wire.
- Modge Podge*.
- Sanding block.
- Poly* sealer.
- X-acto knife*
Instructions:
I started by painting an old board I had in the garage. Painting it was a personal preference. You could just leave the wood as is.
I then cut my tissue paper to fit the board. I cut the paper a bit larger than the board so that I could distress it after the Modge Podge dried.
If you want a worn and distressed look do not worry about the wrinkles and small air bubbles. Once the piece has dried you will then be sanding all that away. The distressing part is so fun. The paper just sort of unravels and falls off. Easy peasy to create a vintage looking piece.
I did some heavy distressing in areas to create a more worn look. This is all personal preference. Once done distressing to your liking, seal with a poly.
Decide how you would like your pails to hang and add your hardware accordingly.
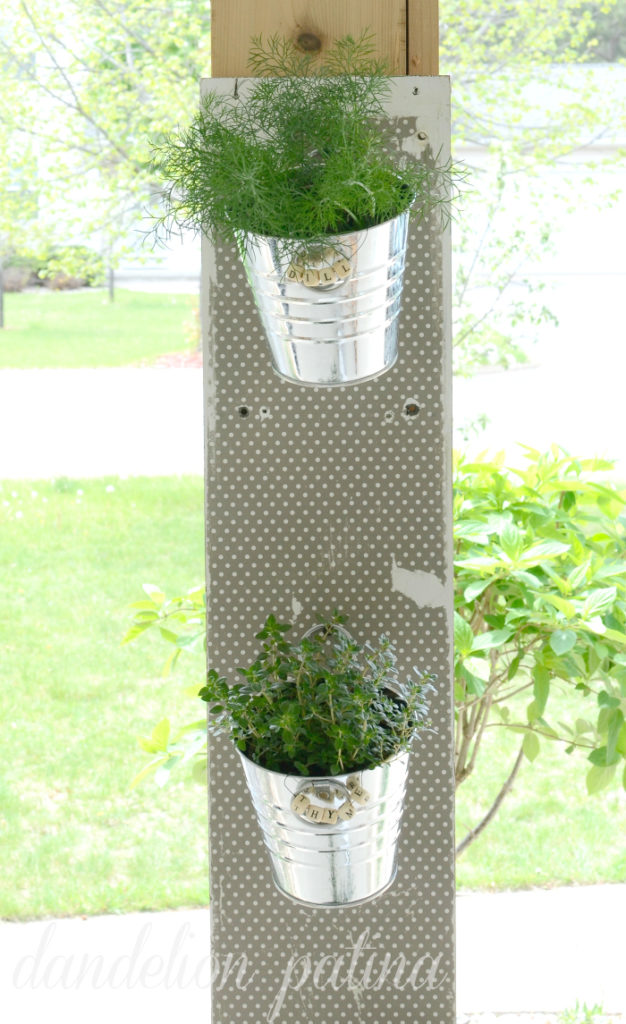
Your pails should look something like this when hung.
I created a few plant markers to hang on the pails. This was achieved with wooden letter beads and floral wire. I just curled the ends of the wire up and hung over the pail edge.
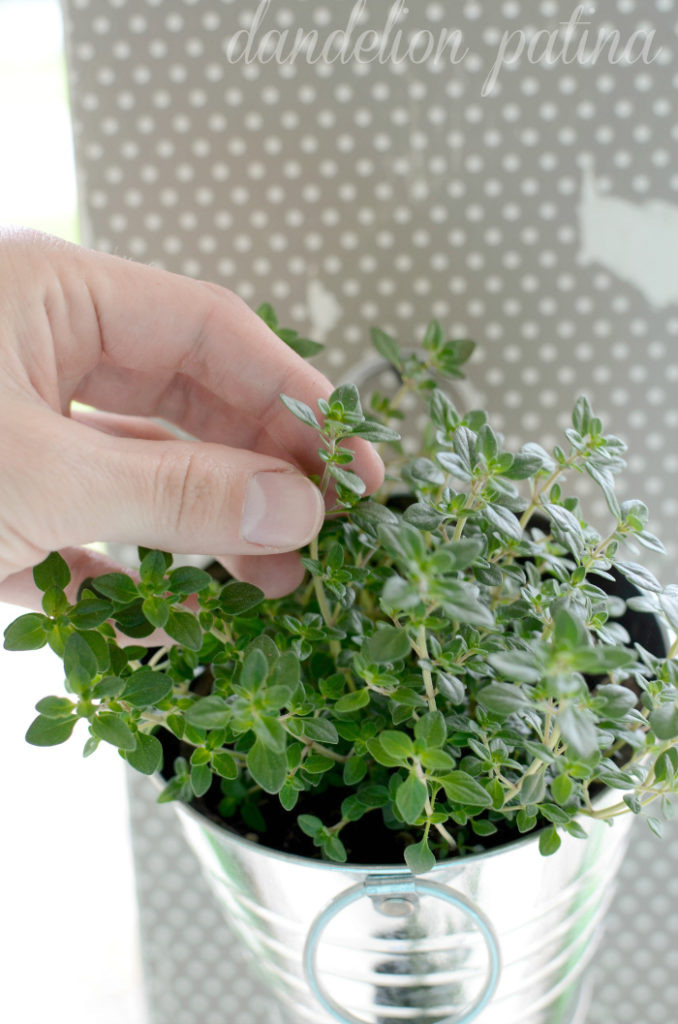
I chose herbs that I could walk past and run my fingers through. The lemon thyme and rosemary have such a nice fragrance. I have even caught my kiddos touching and smelling too. This DIY hanging herb garden would be a perfect project for the kiddos to create and take care of as well. They could customize it as they liked with the pattern of paper and herbs.
If you found this project to be put on your ‘to do’ list, here is a photo to pin to Pinterest project board.
If you are interested in another simple garden project, please be sure to check out my DIY succulent vignette.
Don’t forget….you can follow along with me on facebook, instagram, pinterest, and twitter!
Sharing this project with all my blogging friends here


You are so clever!!!! I love this idea. 🙂 I need to make one for my back porch!
Happy day friend!
karianne
PS So wish you could have gone to Haven!
Thank you Kari Anne! I love gardening when I have time. I too wish I could have went to Haven. Next year….good things come to those who wait. 🙂 I will have to check out Periscope in the meantime.
I love this idea! It looks great, and I think you’ve inspired me to create something similar for myself. Thanks for sharing with us at Totally Terrific Tuesday!
Christie, thank you so much! Have a great week.
You impress me every week, Michelle! This whole project is really cool, but those alphabet letters on the handles… those are AMAZING! I’m featuring your project at The Creative Circle again this week! Thanks for linking up with us this week, and I can’t wait to see what you do next!
Awww, Angela, you are so sweet. Thank you.
This is such a cute idea – especially using the beads to identify the herbs! Just found your blog, I always enjoy reading a blog from a fellow resident of the Badger State :).
Thanks Lisa! Glad to see a fellow Wisconsinite is among my readers!