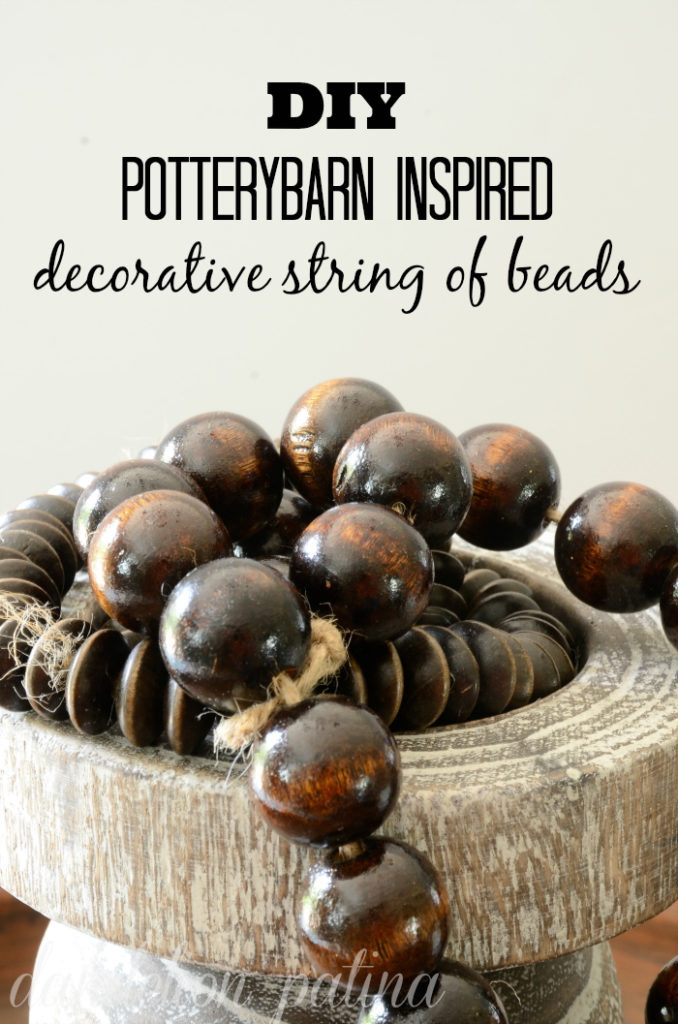
Hey friends! Today I want to show you how easy it is to create Potterybarn inspired string of beads.
Do you ever look in a Potterybarn catalog and find something you can’t live without, but yet sigh when you look at the price tag? I do this quite often, but there is hope! Many of the decor accessories can be DIY’d. And, you can personalize them to make them unique to you and your home.
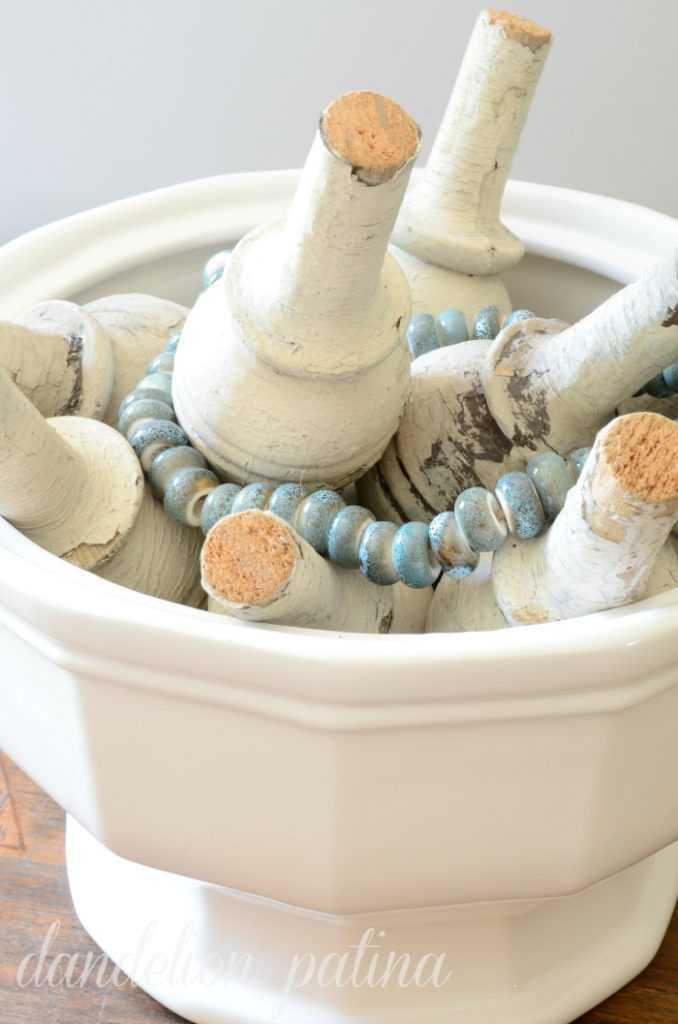
I love using these in decorating. They add texture, color, and interesting effect to an otherwise dull candlestick or decorative bowl.
I will be sharing a few different types of beads and two techniques for creating them.
Let’s get started.
I love the farmhouse style look, so I selected some beads that had rich wood tones. I also love pops of soft aqua.
This post contains affiliate links for your convenience. See full disclosure.
Materials list for Potterybarn inspired string of beads:
- Wooden beads, ceramic beads, recycled glass beads
- Jute string
- Plastic knitting needle
- Scissors
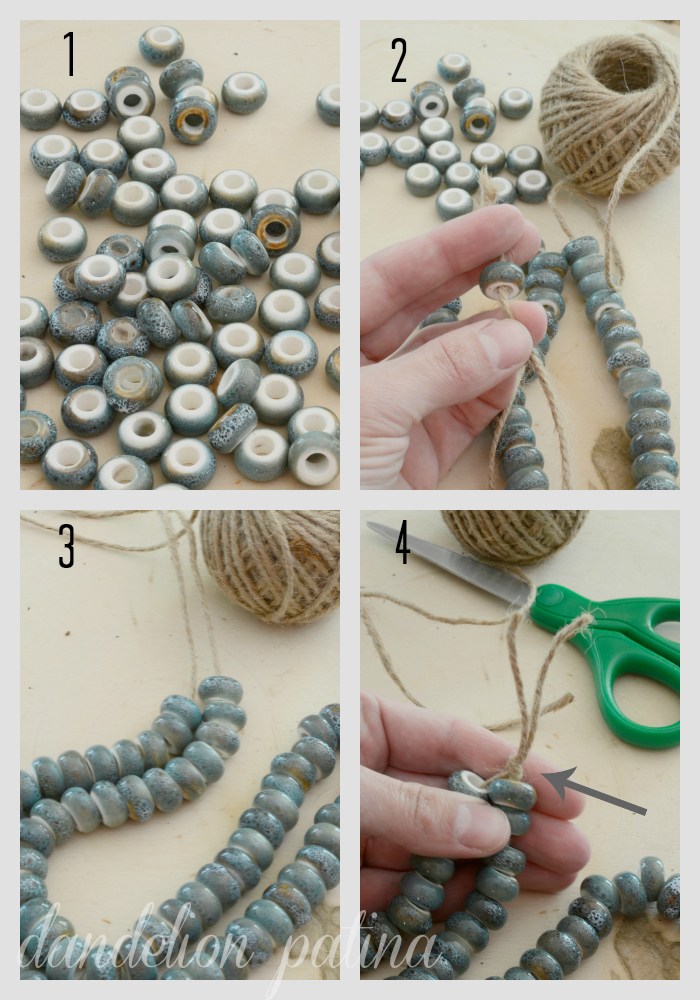
FIRST TECHNIQUE: Simple threading.
1. Separate the beads.
2. Take an end of the jute and push through the first bead. These aqua beads had a rather large hole so there was no need to use a plastic needle to thread. *Do not cut the jute at the other end until the end of the threading.
3. Once threading is completed, push all the beads tight to each other and even them out.
4. Tie a knot as tight to the beads as possible. Cut away excess.
SECOND TECHNIQUE: Using plastic needle.
Same steps as above, just thread your jute through needle head first.
These wooden beads needed the use of the plastic needle. It just depends on the size of the hole within the center of the bead.
Here are a few ways to inspire you to use your newly created Potterybarn inspired string of beads!
I absolutely love what these decorative beads add to accessories. It is that layered and textured element that creates depth and interest to accessories in the home.
This project was under $20 to make all 3 of these Potterybarn inspired string of beads. Can’t beat that. And don’t they look just as good as in the catalog? No one would know!
Now I know some of you don’t want the hassle of completing a DIY, so I have curated a few options to get the look.
I know you can tackle this DIY project just as I did, so go ahead and pin this to your ‘future projects’ Pinterest board or share with someone who would love this!

Other decor and styling post you may enjoy:
Enjoy your day,


Loved these too! So I featured them as well! Great DIY!
KIm
Kim, I am truly thankful. So glad you liked them! They are so fun and such a quick home decor DIY.
Love your idea, saw it at the cottage market. Thanks for the decor tips.. When I saw them in the store I loved them then saw the price and promptly put them back down. and I was on my way out the door, so I didn’t really notice how they were using them.. Thanks again.
Have a great day.
Absolutely! You are most welcome.
I LOVE these Michelle! What a great way to save on some amazing jewellery! I’m featuring this project at the Talented Tuesday party tomorrow. I hope you’ll stop by and say hi!
Thank you Lindi! I am so glad you like them. They can be used decoratively as well.