Decoupage. It is making a come back. I must say I am enjoying the simplicity of the craft. I don’t think there is any right or wrong way to do it. So, for me, decoupage is just a ‘go with the flow’ kinda project. It is a project that you can personalize and not have sweat dripping off your forehead because you are afraid of screwing it up.
Today, I am going to share my technique in creating paper napkin decoupage eggs. The process will take a plain old white egg from ordinary to extraordinary.
Materials:
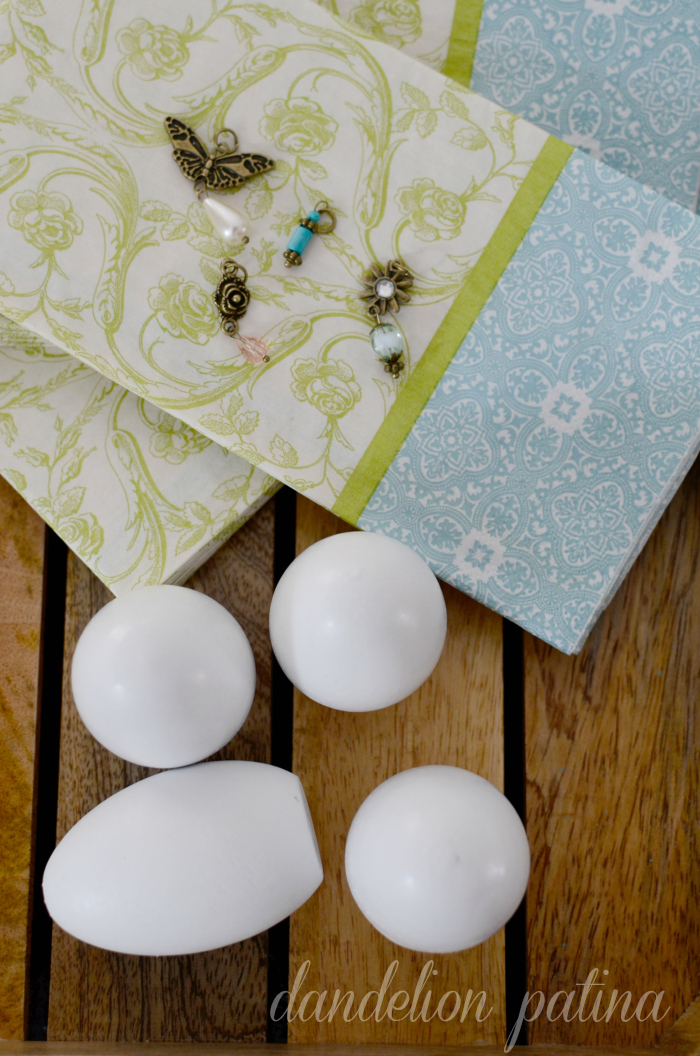
painted white wooden eggs
patterned paper napkins
decoupage medium, modge podge
medium sized brush
jewelry charms & eye hooks
decorative trim
wax paper
drill
scissors
paint brush
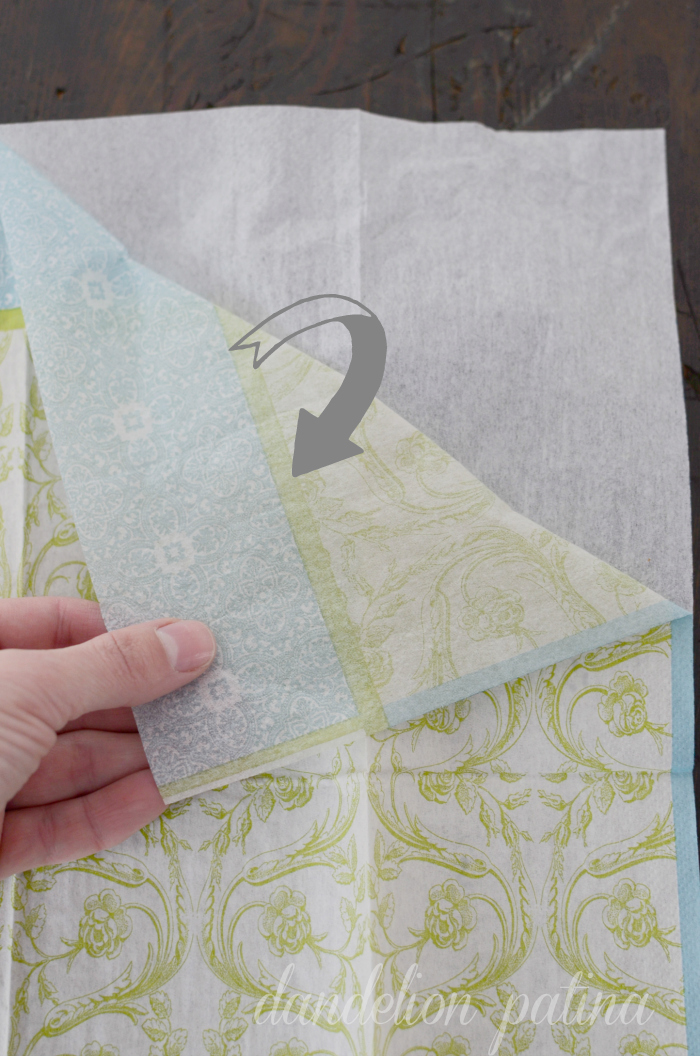
Peel apart the layers of napkins. You will only want to use the top patterned layer.
Cut your patterned napkin into squares or rectangles. It really doesn’t matter on the size or shape of them. Start applying decoupage medium to the egg in sections, adding a square piece of napkin at a time. I also painted over the top of the napkin pieces to smooth them out and for overall adhesion.
Because my paper napkins had a few different patterns on them, I was able to create different looking eggs. I loved this because I could have variety, but the overall look would be cohesive.
Place the egg on a piece of wax paper to dry completely. I let them dry overnight.
To embellish the eggs as pictured, you will need to pre-drill a very small hole into both ends of the eggs. I then screwed jewelry eye hooks into the holes until tight. On the top I added a decorative trim to hang. On the bottom I added a little charm to dangle and add to the vintage charm.
Grab some branches from your backyard and throw into a vase. Then, start adding your paper napkin decoupage eggs. It is that simple.
Sharing this tutorial with:


I love these!! Thanks for sharing.
Thanks so much for stopping over! Have a great week.