Hey friends!
I have been meaning to start a Thankful Tree in our home.
I made a sad attempt at one last year using a mason jar and a branch.
Unfortunately, the branch was way too big.
I couldn’t display it on the mantel.
As a centerpiece on our setting for four table, it was just awkward.
So, this year I was going to do it right!
Come up with a plan for a unique and fun Thanksgiving centerpiece.
A piece my kiddos could feel comfortable writing on without being scolded.
I can’t wait to see what they are thankful for…
….and their cute little spelling of words.
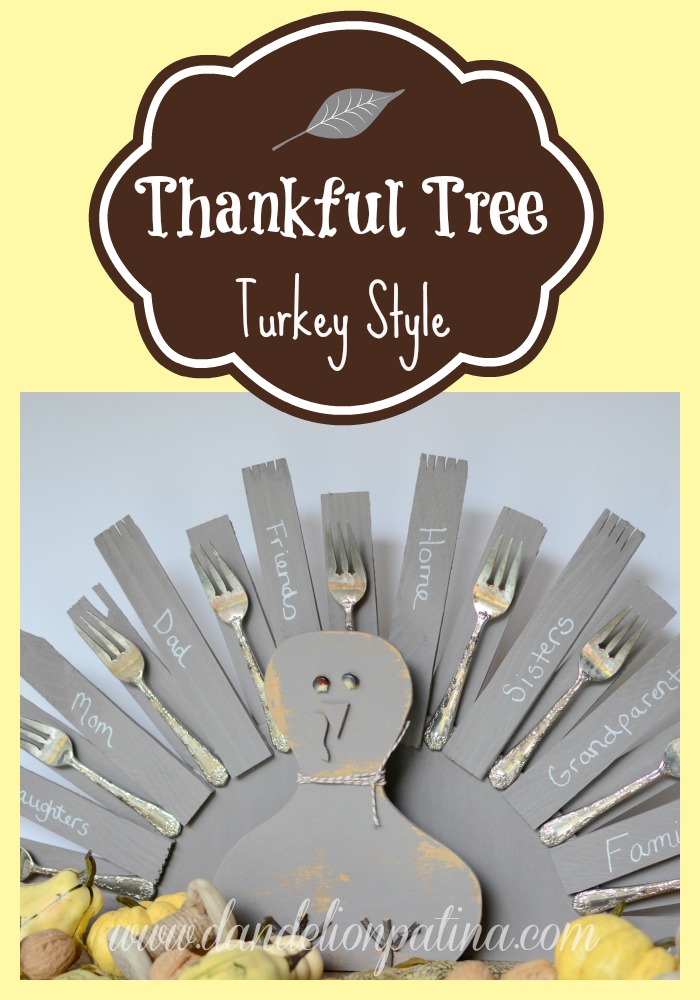
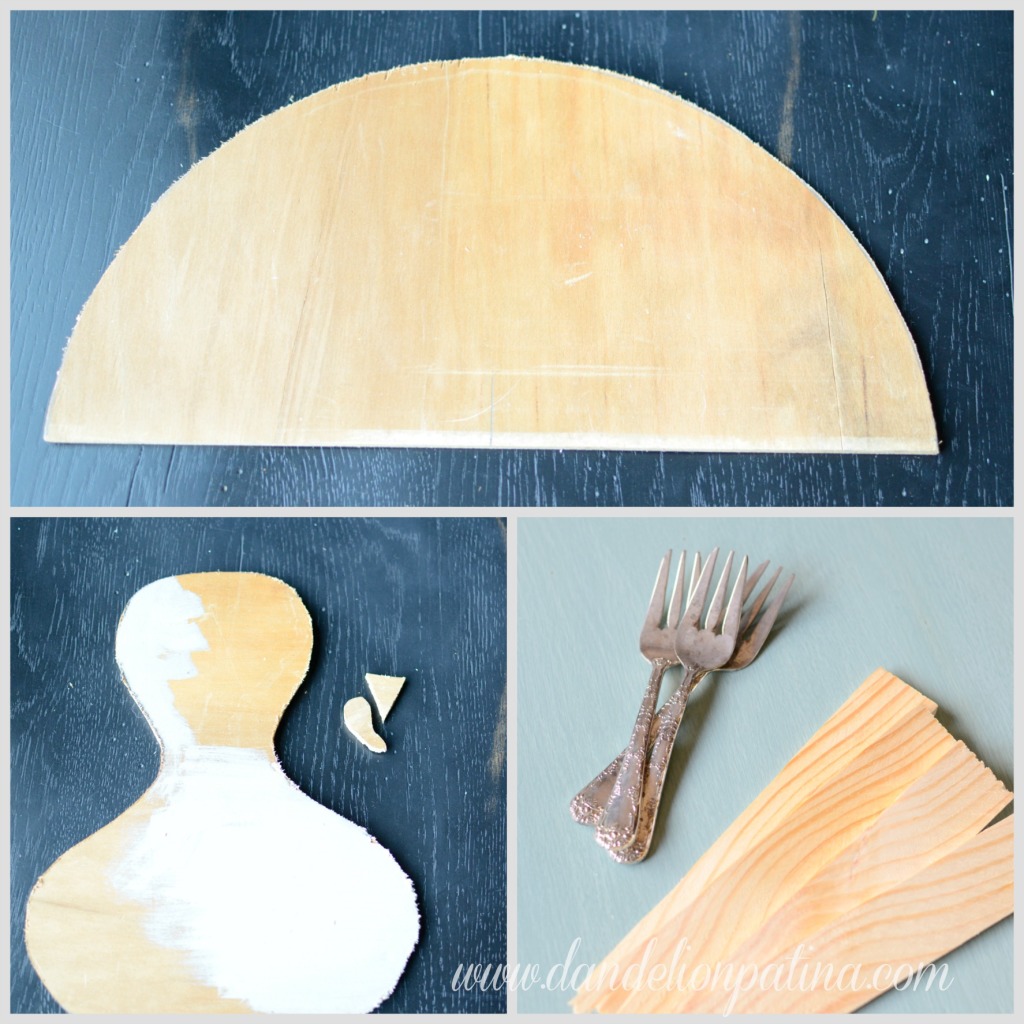
Here are the materials you will need to create your own:
(Affiliate links for products are marked with asterisk below see my full disclosure)
- thin plywood
- scrap piece of 2×4
- wood shims*
- Martha Stewart multi-surface chalkboard paint*
- old forks or Dollar Tree forks
- E6000 adhesive*
- glue gun
- jigsaw* to cut out pieces
- embellishments, Bakers twine*
- chalkboard markers*
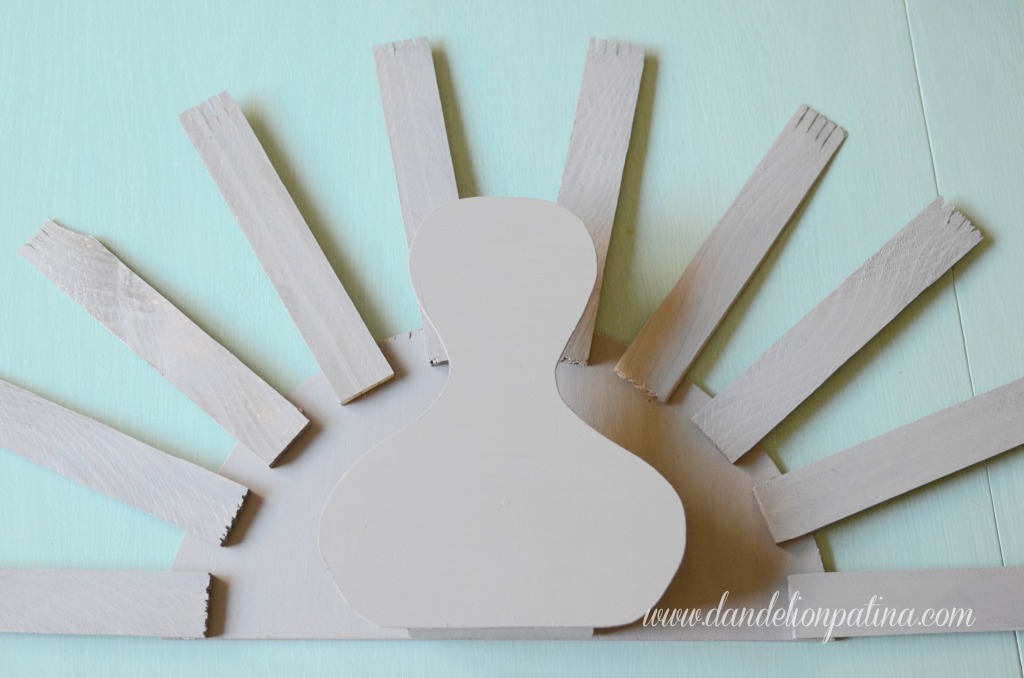
Trace a pattern on a piece of paper. I just free handed the design on one side of the paper and then folded the paper in half for a mirror image on the other side.
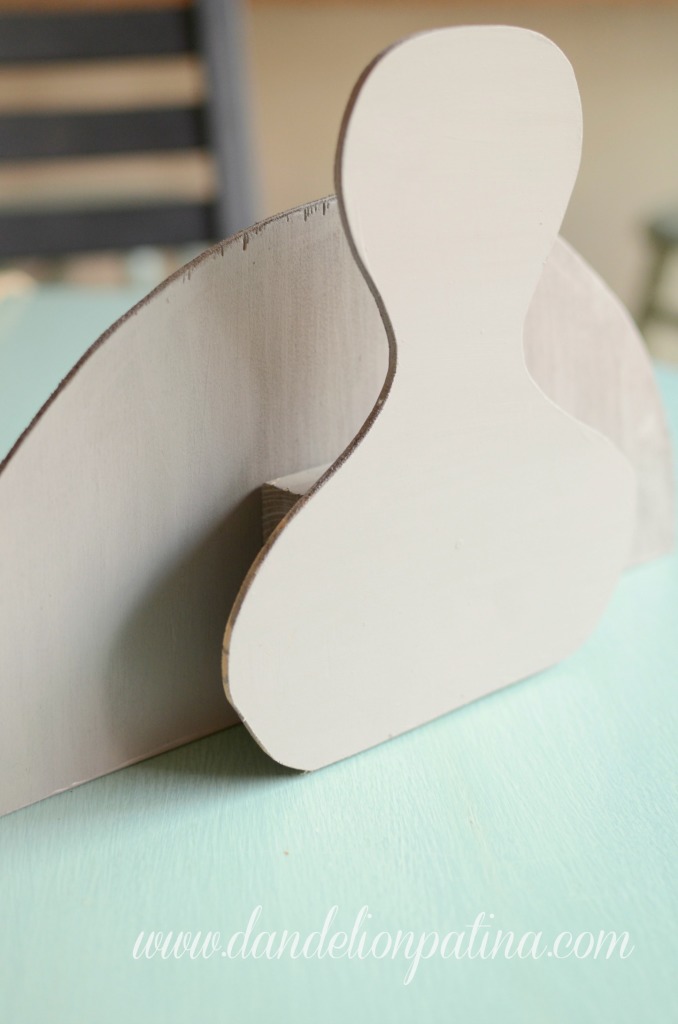
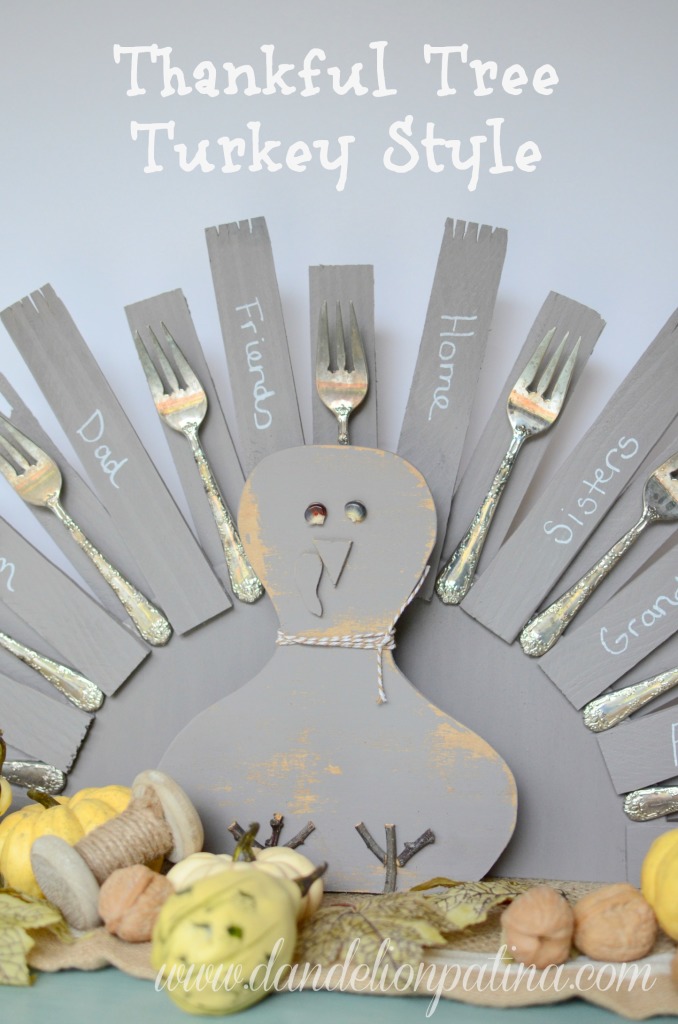
Paint all the pieces with chalkboard paint. Again, I used Martha Stewart multi-surface chalkboard paint in gray. I then glued the pieces together as shown in photo.
Lay out the first layer of tail feathers and glue to the fan shaped plywood.
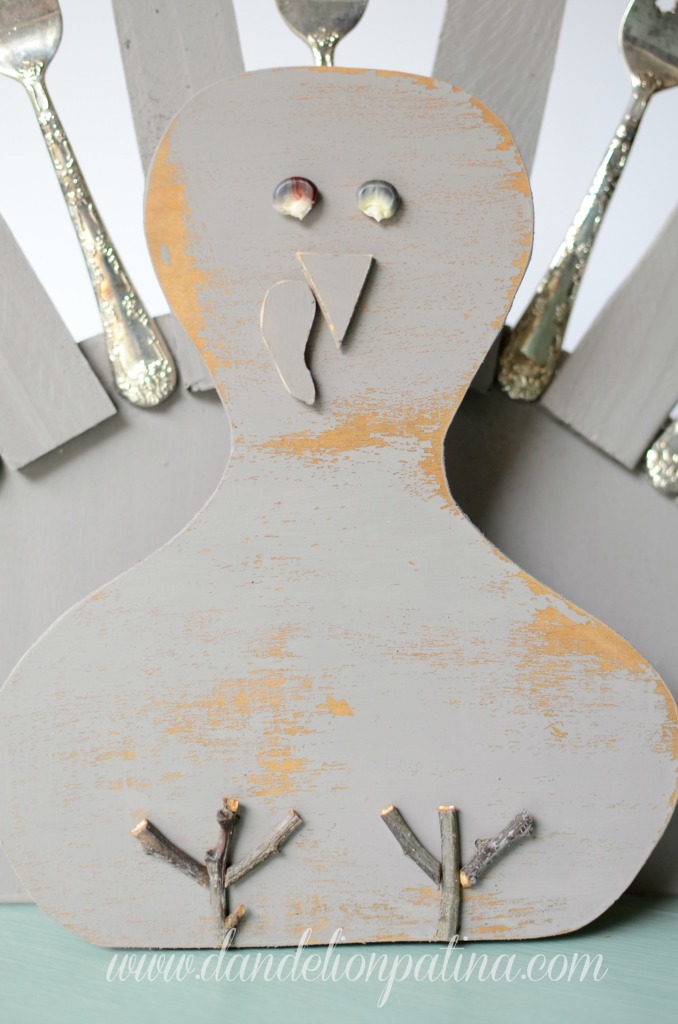
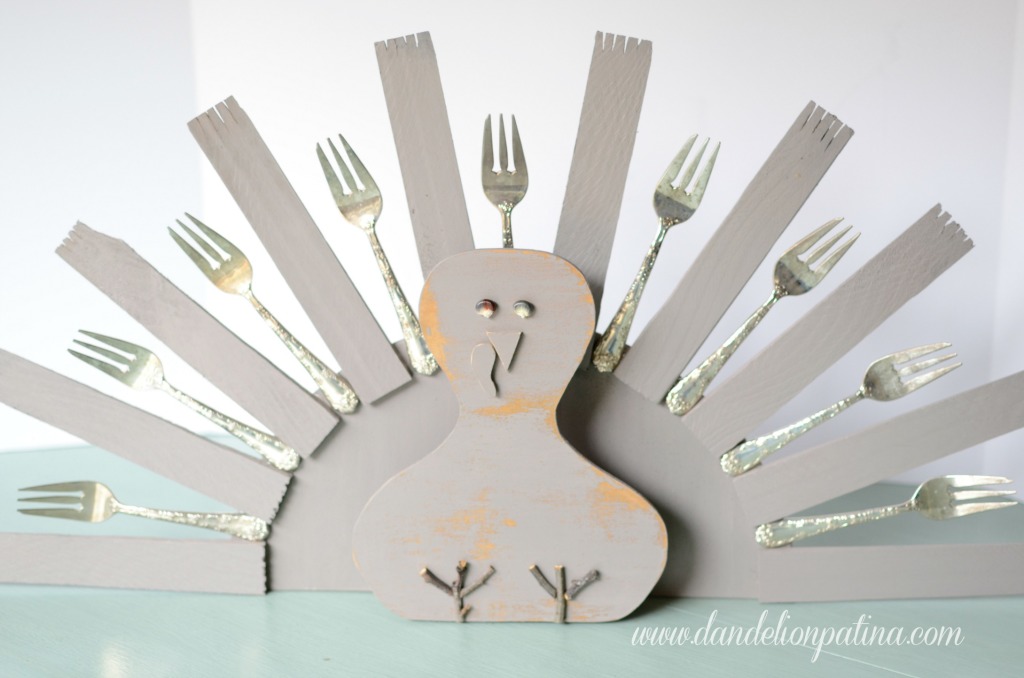
I distressed my turkey body. It was a personal preference. The forks were glued on with E6000. You will need to let this dry for a good 4 hours for proper adhesion. Once that is dry you can add the last layer of tail feathers to the back.
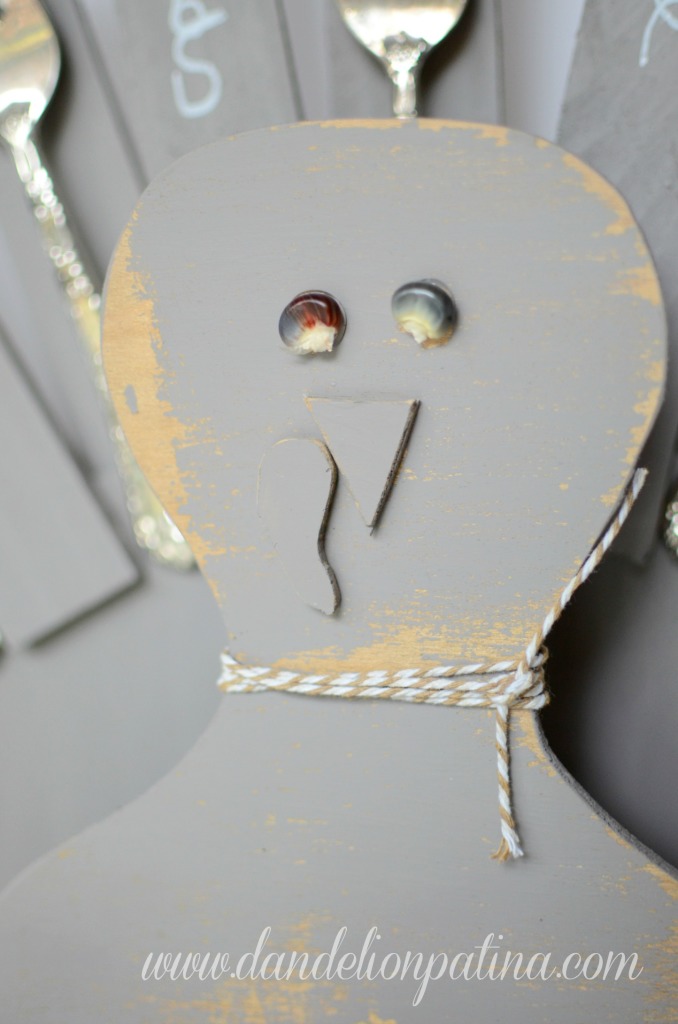
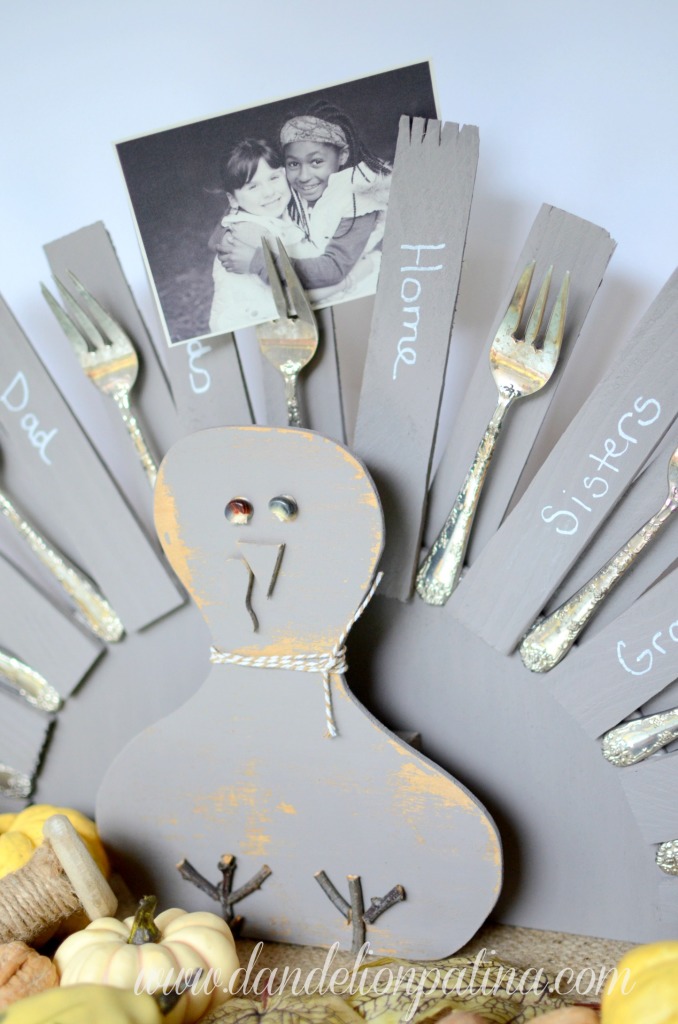
I embelllished the turkey with Indian corn for eyes, plywood cutouts, and bakers twine.
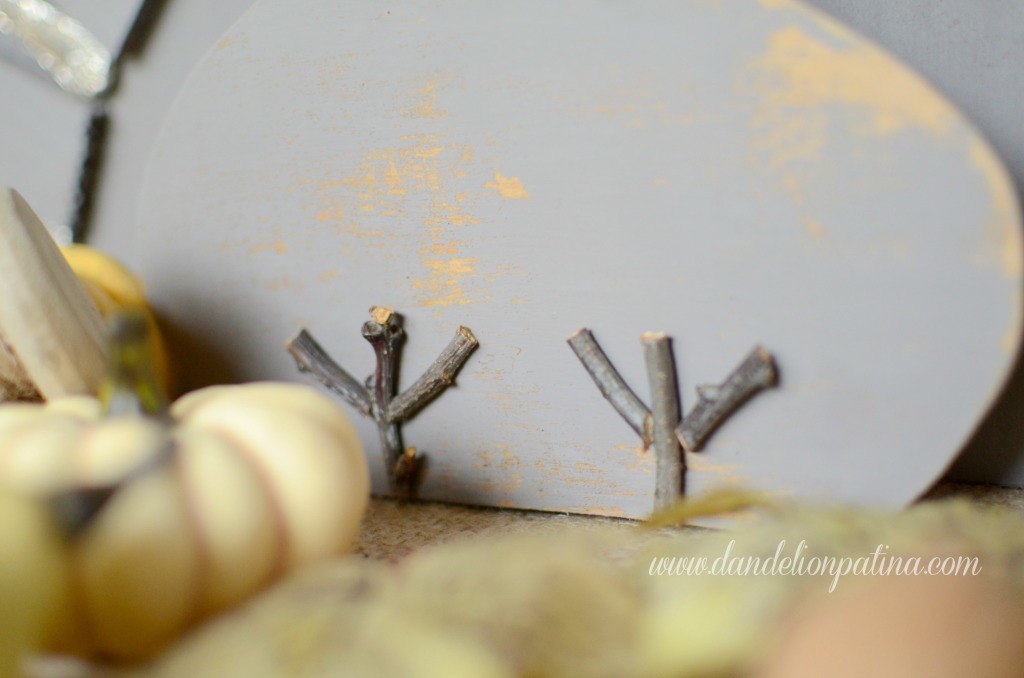
Twigs were cut for the feet.
The forks function as a photo holder while the tail feathers can be written on, as the entire body could be. That’s the beauty of using chalkboard paint!
Gobble. Gobble. A unique thankful tree turkey style!
What are you thankful for this Thanksgiving?
Until next time,
Sharing this project with:


This looks so adorable! Love the thankful tree idea…and how you used vintage forks. 🙂
Stopping by from “a Burst of Beautiful”
Iris♥
The Blue Birdhouse – DIY Blog
Thank you Iris!!
I SO love this! What a beautiful idea, and something that can be used and cherished for a long time to come! Will be featuring your project this Thurs at Heathered Nest for the Think & Make Thursday party 🙂
Thank you so much Heather! I appreciate it.
Such a cute project!