As spring is starting to show her face with warmer temps and birds chirping, we have decided to make a few changes to our home’s interior.
We have a small niche in our dinette area that needed some character. Wood plank walls are so popular these days and fit right in with the cottage style that I love. Plus, the project is fairly inexpensive at under $100.
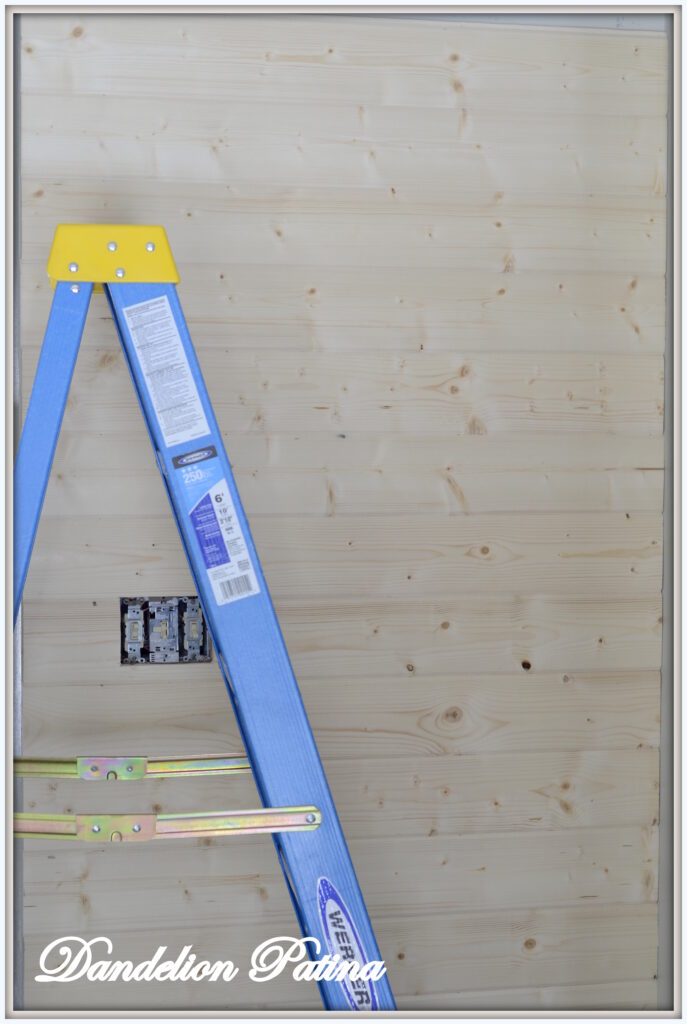
We decided to use tongue and groove {aka boxcar siding} for our wood planks. There are many options out there-cutting plywood into strips, faux board paneling, barn boards. Aesthetically, I wanted a chunkier look to the walls. So, we went this route.
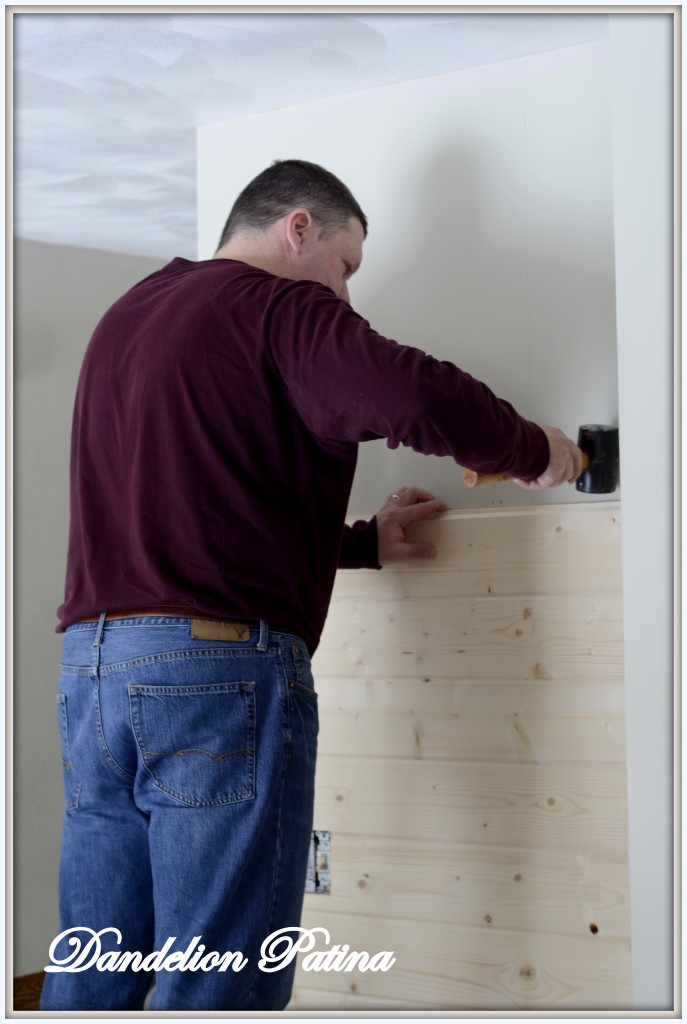
We cut the pieces to fit the width of the wall and started applying from the bottom up. It is good to have a rubber mallet handy to pound each piece into its groove before nailing into the studs. And always use your level to keep your planks horizontally straight.
The cuts can be a bit tricky around the outlet and switch plates. Measure twice, cut once! I will fill you in on how the outlets were bumped out flush with the wall in part 2 of the project.
The wood planks go on rather quickly. It was great to see speedy progress in such a short amount of time.
And because life does not stand still in this house during projects, eating a breadstick during lunch can be highly dangerous!
So, that is were I will leave you on this project. Stay tuned for part 2 and the finished wood plank wall!


I cannot wait to see the end result. I want to try this but have not worked up the courage to do so yet.
Kathy, you should definitely try it! I love these little type of projects that make a huge impact!
I love plank walls! Can’t wait to see the finished product! All of your projects are great! I nominated your blog for a Liebster Award 🙂 http://meetthebs.blogspot.com/2014/03/liebster-award.html
Nicole, thanks for the nomination! I will have to educate myself on the Liebster Award. Look forward to chatting with you in the future.